I love the fact that I can use my Xbox Series X controller on my PC. But after updating the controller using the Microsoft controller program on my PC, it started acting weird.
At first, I thought that maybe I messed something up but then I thought I could just reset the controller and it would go back to how it was before I updated it.
Can you reset an Xbox Series X Controller? Yes. Just hold the Sync button for about 20 seconds, the controller will start vibrating and then it will reset itself.
Ok, now you know the Xbox Controller can be reset, let’s take a look at how in a little more detail…
How to Reset Your Xbox Series X Controller
It is pretty simple to reset your Series X controller.
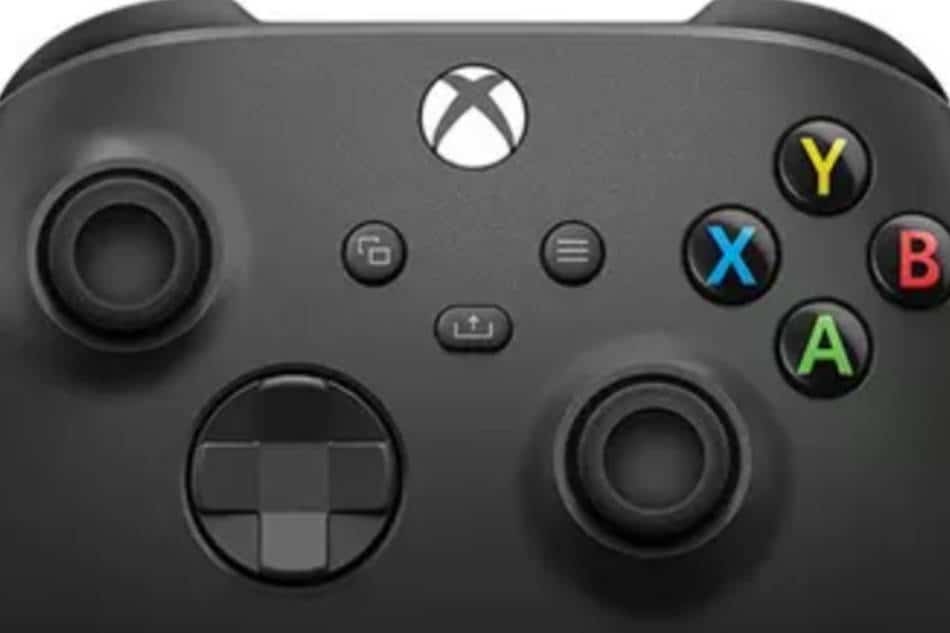
Step 1: Press the button with the Xbox logo on it for a couple of seconds to turn it off. Once the light goes out, that means the controller is turned off.
Step 2: You can either completely disconnect the controller from your console by connecting it to your PC. But I don’t think that will be necessary.
Step 3: To start pairing your controller again, restart your console and press the black button you see on the front part of your Xbox Series X console. Once you do that, your console light will start flashing when it is searching for a new controller to connect to.
Step 4: Now, grab your Xbox Series X controller and press the central button with the Xbox logo on it.
Step 5: Press the pairing button until your central button with the X logo on it starts to flash.
Once your controller and your console are linked, both lights will stop blinking.
You have now successfully reset your controller, the next thing you need to do is resync it to your Xbox Series X console - just follow the steps below.
How do you resync your Xbox Series X controller to your XBox Series X?
Once you reset your Xbox Series X controller, you will need to resync it with your PC or Xbox Series X.
There are two ways you can do that - wireless pairing or wired pairing via USB-C or a micro USB connector.
Wireless Pairing:
Step 1. Make sure that you have batteries in your controller before trying to pair wirelessly.
Step 2. Press and hold the Xbox button in the center of the controller. And if you have enough power in the batteries, you will start seeing the Xbox logo start to flash. This means the controller is now turned on.
Step 3. Now, on your Xbox Series X console, you will have to press the Pair button to connect with the right controller.
Wired Pairing:
If you thought that wireless pairing was confusing, then USB-C pairing is for you.
This is the easiest way to sync your Xbox Series X controller to your Xbox Series X gaming console.
Step 1. Connect your controller with your Xbox Series X via a USB-C cable.
Step 2. Press down the Xbox button in the center of the controller.
Once the Xbox logo starts blinking, that is when it automatically pairs with the gaming console that is available online.
Once it is paired, you won’t need to connect your controller via a USB-C wire every time you want to play. You can just disconnect the controller and as long as it will have batteries in them, the controller will work with your Xbox Series X.
How often should you reset your Xbox Series X controller?
To be honest, you shouldn’t really feel the need to reset it unless your controller is starting to act weird. Maybe it keeps disconnecting and reconnecting intermittently on its own. Or you feel like there is some sort of lag when you press any button on your controller.
In those cases, it is worth it to try resetting your Xbox Series X controller and seeing if that solves the problem.
There are times when your controller will just not start up or light up. In that case, you should try replacing the batteries and see if that solves the problem.
You don’t want to get too “reset” happy. Resetting your controller every time something inconvenient happens with your controller is not a good idea because, each time you reset your controller, you are reverting back to the old firmware. That in itself is not a big deal. But usually, in new firmware releases, there are security fixes and new optimizations that come with it.
By upgrading to the latest firmware, you are making sure that your controller is working exactly how it should. Not just that, you might also be able to get some new features out of it if Microsoft releases them in their firmware updates.
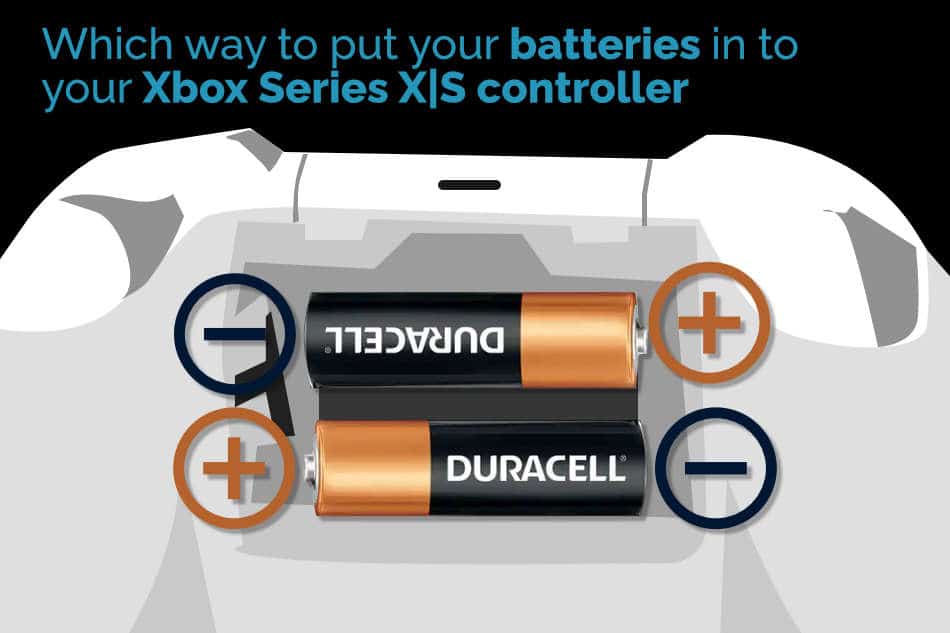
And if you’re like me, you should double-check if you installed the batteries the right way.
Should you upgrade the firmware on your Xbox Series X Controller after resetting it?
After resetting your controller and doing everything I talked about above and your controller still isn’t connecting to your Xbox Series X or your gaming PC, then it might be time to upgrade your Xbox Series X controller firmware. But before you do that, you will need to make sure that everything is set up perfectly.
What do I mean by that?
I mean you should make sure that your internet connection is perfect. And there won’t be any interruptions when your controller is being updated. A lot of people end up bricking their controllers because their firmware update got corrupted.
Once you know that there won’t be any interruptions, you should then follow these steps to upgrade the firmware:
- Go to Profile & Settings
- Click on Settings and then on Devices & Connections.
- Click on Accessories. This is where you will pick the controller that is not working properly.
- Once you’re there, check for the latest firmware. Install it.
One thing you should know is that unless you’re updating your firmware on a PC, you will need to have a second controller handy to navigate through the firmware update menu.
You’ll also need to make sure that you are connecting the second controller through a USB connection.
If you’re experiencing any of the issues above with your Xbox Series X controller, make sure that your batteries have enough power to turn on the controller. And you should also check if you have inserted the batteries the right way.
What do I mean by inserting the batteries the right way?
Simple - be mindful of the + and - signs when inserting the battery. Don’t connect the negative side (-) of your battery where you see a positive (+) sign. You’ll be surprised how many people don’t notice this…
Myself included(!)
How can you check if your batteries have enough power?
Here’s a simple way to do that - Either a) if you’ve been using the same pair of batteries for a couple of months, then assume it is time to get a new pair, or, b) pop the batteries into another gadget to see if they power up the device.