Nintendo Switch Online has two types of memberships, individual and family.
Individual membership allows only one Nintendo Switch account to access Switch Online services.
A family subscription grants Nintendo Switch Online access to up to eight Nintendo account holders.
In my family, we have 3 Nintendo Switches, and 1 Switch Lite.
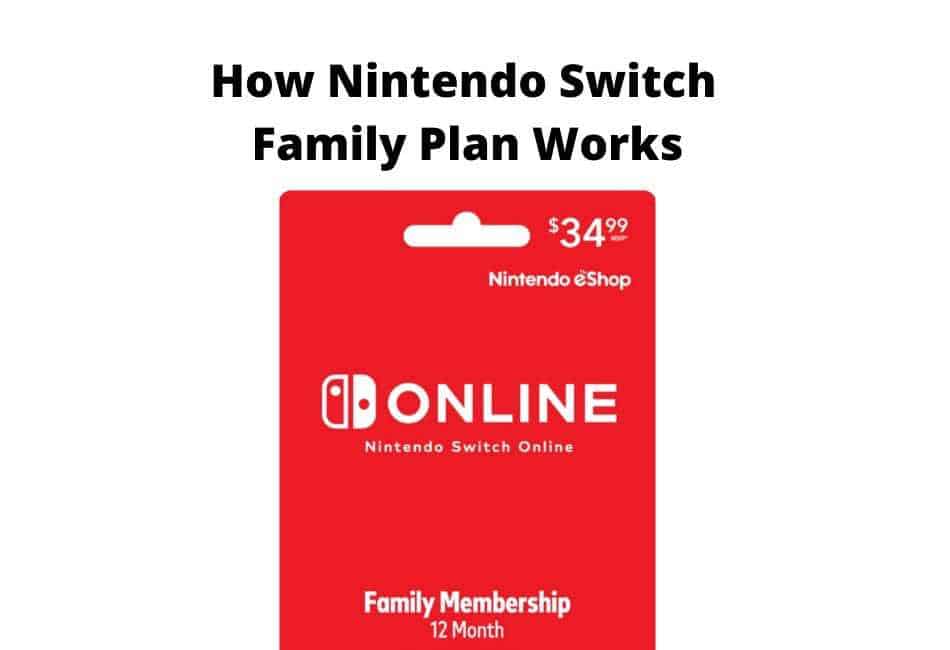
An individual annual subscription for Switch Online costs $19.99, while a yearly family plan costs $34.99.
If I was to pay for an annual individual subscription for each of my family members it would cost me $79.96.
This is more than double the amount for a family membership.
That’s why I prefer to pay for the family plan that allows everybody in the family to enjoy the perks of Nintendo Switch Online, at a much cheaper price.
How does the Nintendo Switch Online family plan work? The Nintendo Switch Online family plan lets you and seven other family members or friends enjoy the perks of this service. With the service family members can play games online, access NES and SNES games, store game save files to the cloud, voice chat using the Switch Online mobile phone app, enjoy members-only bonuses and offers, and a lot more. The Nintendo Switch family package costs $34.99 annually and is similar to the Xbox Live Gold service offered by Microsoft and PS Plus by Sony. Its pricing is what makes it attractive because if you’re able to get 7 people to pay for the plan with you, you’ll be paying less than $5 a year for the service.
If you have questions regarding the Nintendo Switch Online family plan, you have come to the right place.
Read on and I will answer any questions you might have.
How to create a Nintendo Switch Online family group
Here is a step-by-step guide on how to set up a Switch Online family group.
Step 1: Create Nintendo Accounts
Every gamer you want to include in your Switch Online family membership must have a Nintendo account.
If you or they don’t already have one, you can create an account by performing the following steps:
1: On the Nintendo Switch home screen, click on System Settings.
2: Scroll down to select User.
3: Choose the User Profile to be connected to the Nintendo account.
4: On the menu that appears click on Link to a Nintendo Account. Only one user profile can be linked to a Nintendo account. So be sure you chose the correct one.
5: On the next page, click on Create a New Account. Then select Send account creation instructions via email.
6: Enter your email address. Only one email address can be linked to your Nintendo account. Once you enter your email address click Send email.
7: Nintendo will send you an email. Access this email from a smartphone or computer and click on the link provided.
8: Click on Add account for myself.
9: On the page, you’re directed to fill out your personal information, User ID, password, and all other required fields.
10: Complete the registration by clicking on Submit. You’ll be sent a five-digit code via email.
11: Go back to your Nintendo Switch and enter the code sent. This will successfully link your user profile to the Nintendo account you just registered.
You could also open an account directly on the Nintendo website. Here is how to do that.
1: Open the Nintendo website on your smartphone or computer browser.
2: At the top right corner of the screen click on Sign up.
3: Select Create a Nintendo Account. Nintendo gives you the option to open an account using your Apple, Twitter, Facebook, or Google account.
4: Next, fill out the information requested and review the Nintendo Privacy Policy and User Agreement before agreeing to the terms.
5: Click Submit and an account verification number will be sent to your email. This code is valid for an hour and should be sent immediately. If you don’t receive the code select Resend verification and a new code will be sent.
6: Go back to the Nintendo website and enter the verification code then click Verify and your account will be successfully registered.
Once you successfully register an account you’ll be able to access it on Your Nintendo Switch using the user ID and password you provided when setting it up.
Step 2: Invite members to your family group
With Nintendo accounts now created, you can proceed to add members to your Nintendo Switch Online group by following these steps.
1: Login to your Nintendo account using a smartphone or PC.
2: On the top left corner click on Nintendo Account to access account settings.
3: Select Family group.
4: Click on Add Member. Note, only the family group administrator will be able to add members in the future.
5: Next, you’ll be given the option to Invite someone to your Family group or Create an account for a child. For children under the age of 13, you should click on the latter option and use your email as admin to link to their accounts. If you’re adding kids be sure to set up parental controls on the Nintendo Switch.
6: Add the email address of the Nintendo account you want to add, then click Submit.
7: An email will be sent to the Nintendo account holder. They have 24 hours to accept your invitation, failure to which you’ll have to resend the invite.
8: To accept your invite, the family member or friend should click the Join Family Group link in the email sent to them and select OK to confirm.
You’ll have to follow the above process for each of the individuals you want to be in your Switch Online family plan.
Remember you can add up to eight people to the plan.
Once you have successfully created your family group you can proceed to pay for your Nintendo Switch Online family plan.
You can pay for the subscription using a Nintendo Switch Online Family Membership 12 Month Digital Code bought on Amazon, via the Nintendo Switch eShop, directly from the Nintendo Website Membership page, or using physical cards containing a code bought from select retailers.
Once you purchase a Nintendo Switch Online family membership, members in your group can start enjoying the benefits it offers.
What benefits does a Nintendo Switch Online family plan offer?

As mentioned at the start of this article, a Nintendo Switch Online subscription will allow you to:
- Play most Nintendo Switch games online.
- Enjoy playing your favorite Nintendo Switch games, like Animal Crossing: New Horizons, in multiplayer mode with your family.
- Access for free more than 100 NES and SNES games like Donkey Kong, Excitebike, Ghosts’n Goblins, The Legend of Zelda, Mario Bros, Mario Kart, and Yoshi.
- Backup Nintendo Switch game saves in the cloud. This is awesome because if something happens to your Switch, you can get your game saves on another Nintendo Switch simply by login into your Nintendo account.
- Voice chat while playing online using the Nintendo Switch Online mobile phone app. This feature is not, however, usable with all games. Last I checked some of the games you could voice chat on included ARMS, Mario Kart 8 Deluxe, Splatoon 2, and other online games.
- Get exclusive offers on Nintendo Switch physical and digital products. For example, when I paid for our family subscription we got free Splatoon 2 in-game gear download codes.
The different roles in a Nintendo Switch Online family group

The administrator role is the most important in a Switch Online family group.
The person who carries out this role must be above 13 years and has the responsibility of:
- Adding and removing group members.
- Assign roles to the different group members.
- Handing over the admin role to someone else.
- Changing Nintendo account settings for members under 13.
A family group can only have one admin.
Other roles that can be assigned in a Nintendo Switch Online family group are parent/guardian, supervised, and general role.
The parent/guardian has the permission to:
- Set the supervised role in a Nintendo account
- Manage parental controls
- Restrict eShop purchases for supervised accounts
- Leave the family group.
An admin who is over 18 will automatically have the parent/guardian role.
Anyone put under the supervised category has no permissions within the family group. In most cases, this is usually a child.
Members with no role in the group have permission to leave the family group whenever they please.
How to change the Admin in your Nintendo Switch Online family plan

For some reason you might want to pass the administrator role to someone else in your group, doing so is simple:
1: Login to your Nintendo Switch account on a smartphone or PC.
2: On the left side of your screen choose Family group.
3: Select Manage family group
4: Click on Change family group admin
5: Select Submit.
6: Nintendo will send an email to the account you used to set up your account with a verification code.
7: Enter the six-digit code and click Submit to continue.
8: You’ll be taken to a page showing all the members of your Nintendo Switch Online family plan. Click on the Select this person tab next to the member you want to take over as admin.
9: Select Confirm change and the new admin will be sent an email asking them to accept the new role.
Only the current admin can transfer this role to someone else, and that member cannot be a supervised member in the family group.
The admin can remove a member from the group by:
1: Login into their Nintendo account using a web browser
2: Click on Family group.
3: Select Manage family group.
4: Click on Remove a family group member.
5: Tap on the Select this person tab next to the person they want to remove.
6: Click Confirm and the person is out.
What you need to know about the Nintendo Switch Online family plan

- There is no limitation to the number of members who can use the account in one go. So, you can organise for all eight of you to be online at the same time to play Mario Kart 8.
- It is not restricted to family. Therefore, you and your Nintendo Switch gaming buddies can get together and pay for a family plan, instead of individual memberships, to save money.
- You can check who is in your family group on your Nintendo Switch by going to Nintendo Online > Membership Options, then click on the link saying you can check your family group here.
- Nintendo only allows an individual account to be used with one family group. That means a member must leave the group if they want to join another Nintendo Switch Online family plan.
- Family group members cannot share eShop balances or Nintendo Gold points.
- If you pay for an individual membership then move to the family plan you lose out on the time left on the individual subscription. So, before paying for any Nintendo Switch Online subscription take time to think through which one best serves you.
- Your Nintendo Switch subscription automatically renews once the year paid for is up.
Conclusion
A Nintendo Switch Online family plan saves you money if you have several family members or friends who own Switches, and they all would like to enjoy the perks that come with an online subscription.
If you’re able to fill up the 8 slots in a family subscription, which goes for $34.99, you’ll be paying less than $5 a year for each member which is way cheaper than paying the $20 annual fee for a Nintendo Switch individual membership.
Even with only two members, it cost less than an individual online membership paid for both of you.
With a shared membership, you won’t miss out on playing your favorite Nintendo Switch games online, or have trouble organizing multiplayer games with friends and family.
If you cannot find someone to share the cost for a Nintendo Switch Online family subscription, an individual plan is the way to go.
FAQ
How do I clean the charging port on my Switch? Aha, the delicate charging port can be cleaned very quickly. All you need is a Jewelers Loupe, some compressed air, and a toothpick. Check out our step-by-step guide to cleaning the charging port here.
Can I connect my Nintendo Switch to my TV without the dock? Yes, you can. You will need to get a special adapter that is the equivalent of the dock to do this. You can read more about this here.
How do I clean my Nintendo Switch vents? It’s super simple to clean vents out, all you need is a can of compressed air and a vacuum cleaner. Check out this article here for a step-by-step guide.
How do I charge my Nintendo Switch controllers? The most obvious answer to this question is to use the Switch dock. However, there are other points to consider, you can read more about this topic here.